You can earn an ethical and satisfying income from affiliate marketing. But is it for beginners? In this article, I am going to show you how to get started.
It's a bit like learning to walk.
Really, really difficult at first. You have some stumbles and falls. But you pick yourself up, learn from your mistakes and try again.
But then suddenly everything falls into place and you never look back.
But it sure helps to have someone there, guiding and encouraging you every step of the way. In the case of walking, it's someone to show you how to do it, to hold your hand as you take your first stumbling steps and to help you back on to your feet when you stumble and fall. And to help you keep that goal firmly in mind.
Anyone who has ever raised a child knows how important each of those factors is.
It's the same with affiliate marketing for beginners.
More...

You need a mentor. Someone to get you started along the right path, to keep the end goal firmly in sight and to help you up when you stumble and fall.
Babies usually have built-in mentors. Mom and Dad, grandparents and even older siblings. The quality of those mentors often determines how quickly and how well the new skills are learnt.
The concept behind affiliate marketing is simple.
Visitors go to your website, find a product that you are promoting and decide to buy it because of the excellent review that you've written. When they click on the buy button, they are taken to the supplier's website (or to a facilitator like Amazon) where they buy the product. Because of the link in the buy button, you are credited with the sale and paid a commission. It's that simple.
But how to get there?
Like most things, it can be broken down into a set of logical steps.
If you're a beginner in affiliate marketing, you'll likely have a lot of questions. I've gathered a lot of the most common questions, together with their answers, in Affiliate Marketing: Your Questions Answered.
STEP 1: Select a Niche

The very first step in your affiliate marketing for beginners journey is to select a niche.
What is a niche?
It's an area of interest that you are going to build your business around.
And yes, I know the image to the left is a different type of niche. I just liked the photo.
A lot of beginner affiliate marketers totally stress out over this step.
There's no need to, and for two entirely different reasons. One is that I'm going to give you some guidelines to follow right now and the other is that you're going to end up with several businesses, each in a different niche, so by all means regard your first one as an opportunity to learn and practice.
But here are the guidelines:
- You don't have to be an expert in your niche but it helps if it's something you're interested in. Interest will keep you going. You'll want to find out more about your niche so that you can write interesting articles about it (more on that later). Expertise isn't required because you have the whole internet at your fingertips. You can research any aspect of your niche and quickly become an expert on it.
- It must have products that you can become an affiliate for. This is essential, because this is how you will be making your money. You will promote a product, a visitor will buy the product through your link and you will get paid a commission.
See my article What Are The Best Affiliate Programs? 5 of the best for 2020 for some affiliate platforms you can check out to see if there are products you can promote. I'll do another 5 in a future article, focusing more on physical, as opposed to digital products.
But also go to Google or Bing and search for niche + affiliate. For example, if I search for "coffee machines + affiliate", I find any number of affiliate programs for coffee machines and as I already have a coffee site promoting Amazon products, I should have no problem becoming an affiliate for any of these others.
STEP 2: Get a Suitable Domain Name

Again, this is nothing to stress over.
For one thing, it's cheap. Less than $10 a year, in fact.
There are plenty of great domain names available, even if when you first start searching for one, it seems that all the good ones are already taken.
You can search for a good domain name at Namecheap and buy it there as well. Do NOT buy any of the upsells. All you want is the domain name itself and at the time of writing, that would cost $8.88 for a year's registration.
There are two things to bear in mind when selecting your domain name. One, it should relate to your niche and two, it must have the .com extension.
Here's an example of how you might go about it.
As mentioned above, one of my niches is coffee. So I used Namecheap to search for coffee related domain names.
Coffee is a very popular niche and I searched many coffee related domain names without finding anything suitable or available.
But the funny thing is, the more you search, the more ideas to try seem to pop into your head.
Eventually, it occurred to me that coffee was the thing that kick started my morning. I'm sure a lot of people feel the same way.
And sure enough, coffeekickstart.com was available. I registered it with Namecheap for $8.88 and now I have a niche website https://coffeekickstart.com devoted to promoting all things coffee. At this stage, I'm focused on high-ticket items from Amazon.
Now you need to do the same thing. Take your niche name. and add some words to it. Use real words like "the" and "your" and "all" and "now". For example, I could have tried coffeeforall.com or yourbestcoffeenow.com. Shorter is better. Try for three words if possible.
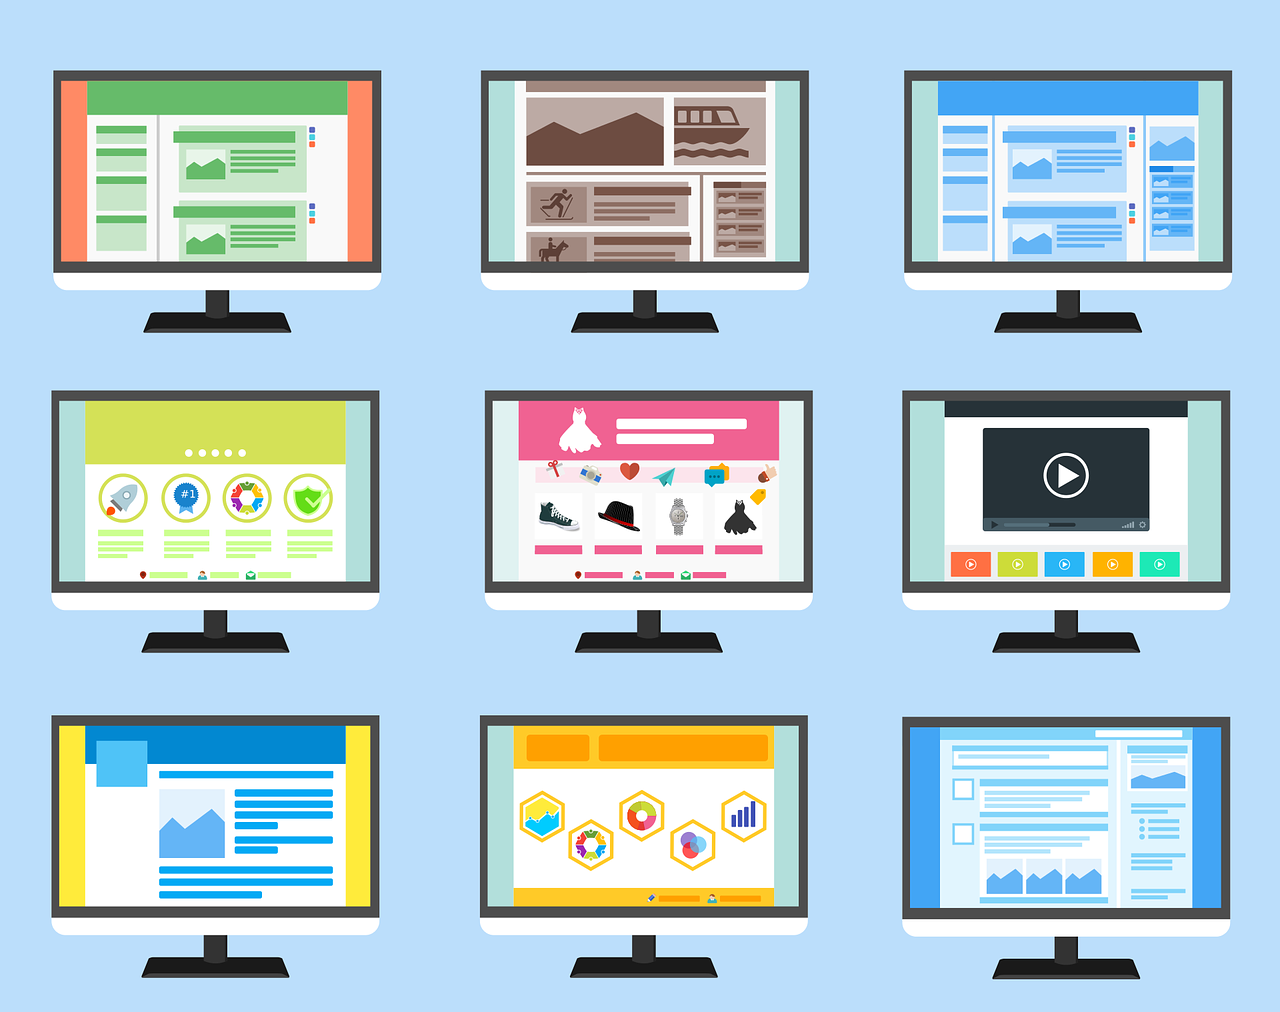
STEP 3: Build Your Website

If you've never built a website before, contemplating this step may freak you out.
There's no need. With the advent of WordPress, something that used to be complex is now much simpler.
In fact, I'm going to be introducing you to a site that will build you a fully structured WordPress site for FREE.
All you do is provide the domain name and a few minutes later, your new WordPress site is built and ready for you to add content to it.
If you want to take a look at the site now, it's called Wealthy Affiliate. Just click on the name and you can read all about it on another page on my site here. The site will open in a new link, so you won't lose your place here.
While Wealthy Affiliate is all about teaching you how to become a successful affiliate marketer, it will also host your new website for free. As a free member you can have 1 website hosted at Wealthy Affiliate and as a Premium member, you can have 10 sites hosted on a blisteringly fast server!
If you don't join Wealthy Affiliate, you will need to sign up with an independent web hosting service. If you Google or Bing "web hosts", you will find plenty to choose from. The one I recommend, if you choose not to join Wealthy Affiliate, is SiteGround. Choose the Managed WordPress Hosting option.
Now here's something that does confuse some people, but it's important to understand.
The concept is simple. You have to link your domain name to your website. That's it. It's so that when someone types in your domain name, the internet knows where to find your website. The linking process is called pointing your domain name at your web host's DNS (Domain Name Servers). This is how you do it, using Namecheap and Wealthy Affiliate as examples.
Go to the Namecheap account you created when you registered your domain name and sign in with your username and password. You may need to click on Account in the top menu.
Your domain name will be listed. Click the Manage button.
Part way down the page, you will see the label "Nameservers". On the first line, click the dropdown and select Custom DNS.

You obtain the nameservers to enter here from your web host. If you are using Wealthy Affiliate as your web host, you enter ns1.mywahosting.com on the first line and ns2.mywahosting.com on the second line. Once that's done, your new relationship will propagate throughout the internet, so that after a couple of hours, anyone in the world who enters your domain name will be directed to your website hosted on your selected web host.
If you are using Wealthy Affiliate, you simply log in to the WA site, select Websites and then the + sign to create a new website. You then choose "On a Domain I Own" and enter your domain name and title (just use a modified version of your domain name, for example "Coffee Kick Start" for coffeekickstart.com) and select a design template that you like the look of. None of this is set in stone. You can change any of it later.
Then sit back and let Wealthy Affiliate build your new site for you. It will only take a couple of minutes.
STEP 4: Structure Your Website

Once your basic WordPress website has been built, there are a number of things you need to do to get it ready as the backbone of your business.
They are not particularly difficult and they only have to be done once.
But they are important. They create the structure your website needs going forward.
Most aspiring affiliate marketers aren't aware of them, so you'll be in front right from the start.
Add Your Site to Google Analytics
A lot of internet marketers don't do this, but to me it's absolutely essential. If you don't know how many visitors your site has, where they're coming from or what pages they are looking at, how can you improve?
Google Analytics gives you all this, and more.
It's beyond the scope of this article to tell you how to create a Google Analytics account and connect your website to it. Go to https://marketingplatform.google.com/about/analytics/ and work through it from there. If you are having any issues, you are welcome to leave a comment below and I'll do my best to help.
You only need one account. You can associate up to 50 websites with it.
Configure the All-in-One SEO Plugin
If you are using Wealthy Affiliate to build and host your website, the All-in-One SEO plugin will have been installed automatically.
Yoast is another popular SEO plugin, but I prefer All-in-One and in particular believe its free version is superior to Yoast's.
So if you're not using Wealthy Affiliate, please install the All-in-One SEO plugin and then contact me via the comments below and I'll tell you the best settings to use.
Install the Monster Insights Plugin
OK, so you've installed Google Analytics as above, and added your site.
Do you really need to log in to Google Analytics itself and wade through their seriously awful interface just to find out what your traffic is doing?

Well, yes. Unless...
You have Monster Insights. It's installed on over 2 million WordPress sites, so just maybe doing something right? And there are paid upgrades, but the free version is all you really need. How good is that?
So there you go. In your WordPress back office, select Plugins >> Add New and search for Monster Insights. Install, Activate and work through the process to connect your Google Analytics account for this website.
From there on, you can view your traffic directly on your website.
STEP 5: Create Your Menus

Your website's menus are an important part of its structure. They are a major contributor to its ease of navigation.
Menus should be simple.
A mistake a lot of newbies make is to make their menus so complicated that the visitor gets lost and quits in frustration.
You need two menus, one in the header and the other in the footer. In WordPress, you set these up by going to Appearances >> Menus.
In the Header Menu, I like to have HOME | ARTICLES | {optional} | YOUR PRIVACY | ABOUT ME | CONTACT ME. The {optional} one is there because as you build up your site, you will have groups of articles that address particular issues or concerns or perhaps products that logically group together. For example, if you had a travel website, your {optional} could be SPECIALS and under it have special deals on Hotels, Flights, Packages and so on.
In the Footer Menu, I just have YOUR PRIVACY | AFFILIATE DISCLAIMER | ABOUT ME | CONTACT ME.
STEP 6: Research Keywords and Write Your First Article

This is what everything else has been leading up to. You are about to build out your site with your first article, with the object of getting it ranked in Google using SEO based on your selected keywords.
SEO? Keywords? Say what?
SEO stands for Search Engine Optimization and refers to the process of getting your articles to appear on the first page of Google when someone types in your chosen keyword. This is referred to as how well your article ranks for that keyword.
For example, I might choose to write an article for my coffee website promoting a $3,000 automatic espresso coffee machine. I will have no chance of getting visitors to that article if I have no idea what they are searching for.
That's where a keyword research tool comes in.
A good keyword research tool does many things, but the four basic ones are:
- You can give it a keyword, and it will suggest variations and alternatives based on it.
- For each variation, it will tell you how many searches there are per month. You want that to be high.
- For each variation, it will tell how how much competition there is. You want that to be low.
- For a given combination of article and keyword, you'd like to know where it ranks.
One of the best keyword research tools around is called Jaaxy. Click on its name to find out more about it. There are multiple levels of membership, with different facilities and pricing.
With a Wealthy Affiliate membership, you get access to Jaaxy Lite free. It's included in your membership. Jaaxy Lite has the first 3 properties mentioned above and for the 4th, it will at least tell you if you are on the first page or not of Google, Bing and Yahoo.
Basically, in this step, you will have decided what your article is about, researched related keywords and decided on one that maximizes searches and minimizes competition.
Then you write an article whose name is that keyword and which mentions the keyword naturally 2 or 3 times throughout the article. You want Google to rank the article for your chosen keyword but not to see you using it unnaturally or too many times. This is called keyword stuffing.
Your article should be substantial, say 2,000 words or so and should include images and headings so that it's not just a blob of text.
You can have your affiliate link a couple of times in the article, but avoid making your article all about the affiliate links.
If you take this article as an example, I only have two affiliate links, one to Namecheap and the other to Jaaxy. I have a number of Wealthy Affiliate links, but they aren't actual affiliate links. They link to another page on my website, where I tell you more about Wealthy Affiliate. That page contains my affiliate links. Confused? Click on the links. You'll see the difference.
Oh, and if you're on your WordPress site and looking for Articles, you won't find it. They're called Posts.
STEP 7: Rinse and Repeat

Does anyone remember the original "rinse and repeat" commercial? It was (naturally) for a brand of shampoo but has passed into the vernacular as just meaning "do the same thing again and again until you achieve success".
And that's what this step is about.
Your first post will not get ranked high. Unless you buy traffic and send it directly to your post, you will not make any money out of it. And neither will your second post rank high. Why? There are two reasons. One is that you don't have any authority. Yet.
Authority builds up slowly. As you write more and more blog posts, on subjects related to your niche, your authority in that niche builds up. It's slow, but it's inevitable. You must stick with it.
And the second reason is that you are in the Google sandbox. While Google has never confirmed the existence of the sandbox, I've personally conducted experiments that show that it's really true. Google simply will not rank your articles until your website has had 4 to 6 months of activity. If you're not willing to put that effort into it, don't bother.
Oh look, a bright, shiny pebble. If I pay this guru $197, I can make $125,336.85 per month just by pushing a button.
Or you can stick it out. Write a keyword rich article and include your affiliate links.
When Google decides that you're the real deal, suddenly you'll find not just the latest article but all your older ones are suddenly ranking high.
Now you're no longer in affiliate marketing for beginners. You're the real deal and deriving that enviable passive income.
See also Home Business for Seniors